Launching AWS VPC with public and private subnets using Terraform
In the Continuation of my previous article, I have worked more on security part.
Task Description:
We have to create a web portal for a company with all the security as much as possible. So, we use Wordpress software with dedicated database server. Database should not be accessible from the outside world for security purposes. We only need to public the WordPress to clients. An additional feature added that is NAT Gateway to provide the internet access to instances running in the private subnet.
Performing the following steps:
1. Write an Infrastructure as code using terraform, which automatically create a VPC.
2. In that VPC we have to create 2 subnets, a- public subnet [ Accessible for Public World! ] b- private subnet [ Restricted for Public World! ]
3. Create a public-facing internet gateway to connect our VPC/Network to the internet world and attach this gateway to our VPC.
4. Create a routing table for Internet gateway so that instance can connect to the outside world, update and associate it with the public subnet.
5. Create a NAT gateway to connect our VPC/Network to the internet world and attach this gateway to our VPC in the public network
6. Update the routing table of the private subnet, so that to access the internet it uses the nat gateway created in the public subnet
7. Launch an ec2 instance which has WordPress setup already having the security group allowing port 80 so that our client can connect to our WordPress site. Also, attach the key to the instance for further login into it.
8. Launch an ec2 instance that has MYSQL setup already with security group allowing port 3306 in a private subnet so that our WordPress VM can connect with the same. Also, attach the key with the same.
What is a Bastion Host?
A bastion host is a server whose purpose is to provide access to a private network from an external network, such as the Internet. Because of its exposure to potential attacks, a bastion host must minimize the chances of penetration.
Why we need Bastion Host?
We can’t connect to Private networks from the Internet directly because they have no Internet Gateway, Routing table, etc.
But we can create Another Instance and attach one security group to the private network and allow only this Instance to go inside the private Network and This instance can go inside the private network and do anything but no one can go except this instance. This host is known as the Bastion host.
What is NAT Gateway?
NAT Gateway is a highly available AWS managed service that makes it easy to connect to the Internet from instances within a private subnet in an Amazon Virtual Private Cloud (Amazon VPC).
It is like a home modem, who gives internet connectivity to a private cloud but no one can come inside from the Internet.
So we must create NAT Gateway and attach the subnet of a private network to this NAT Gateway.
Why we NAT Gateway?
Bastion host can use the private IP of the private network to login but it can’t simply go outside world / Internet. To allow the private network to go outside the world and don’t allow anyone from the outside world to come inside a private network. Here, We use NAT Gateway.
What is EIP?
An Elastic IP address is a static IPv4 address designed for dynamic cloud computing.
Step1: Adding AWS Provider
#AWS_providerprovider "aws" {
region = "ap-south-1"
profile = "myshailja"
}
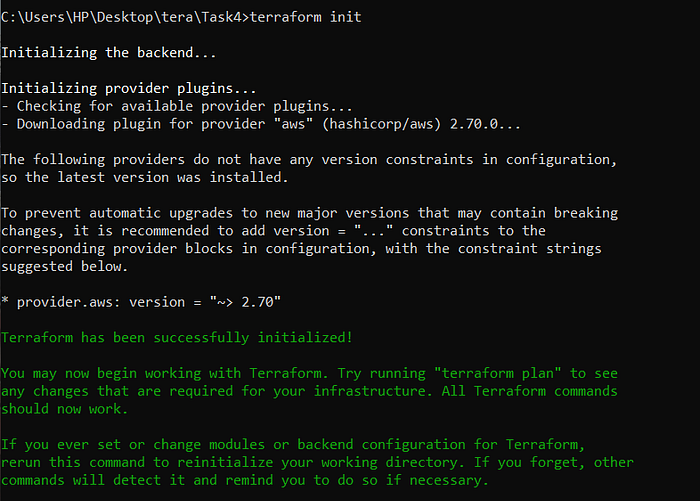
Use #terraform init to download the required plugins.
Step2: Creating PVC
resource "aws_vpc" "my_new_vpc" {
  cidr_block       = "192.168.0.0/16"
  instance_tenancy = "default"
  enable_dns_hostnames = "true"
  tags = {
    Name = "myvpc"
  }
}

Step3: Create Subnets
Here we are creating 2 subnet, a public subnet and private subnet.
#public_subnetresource "aws_subnet" "public_subnet" {
  vpc_id     = aws_vpc.my_new_vpc.id
  cidr_block = "192.168.0.0/24"
  availability_zone = "ap-south-1a"
  map_public_ip_on_launch = "true"tags = {
    Name = "subnet1public"
  }
}

#private_subnetresource "aws_subnet" "private_subnet" {
  vpc_id     = aws_vpc.my_new_vpc.id
  cidr_block = "192.168.1.0/24"
  availability_zone = "ap-south-1b"tags = {
    Name = "subnet2private"
  }
}

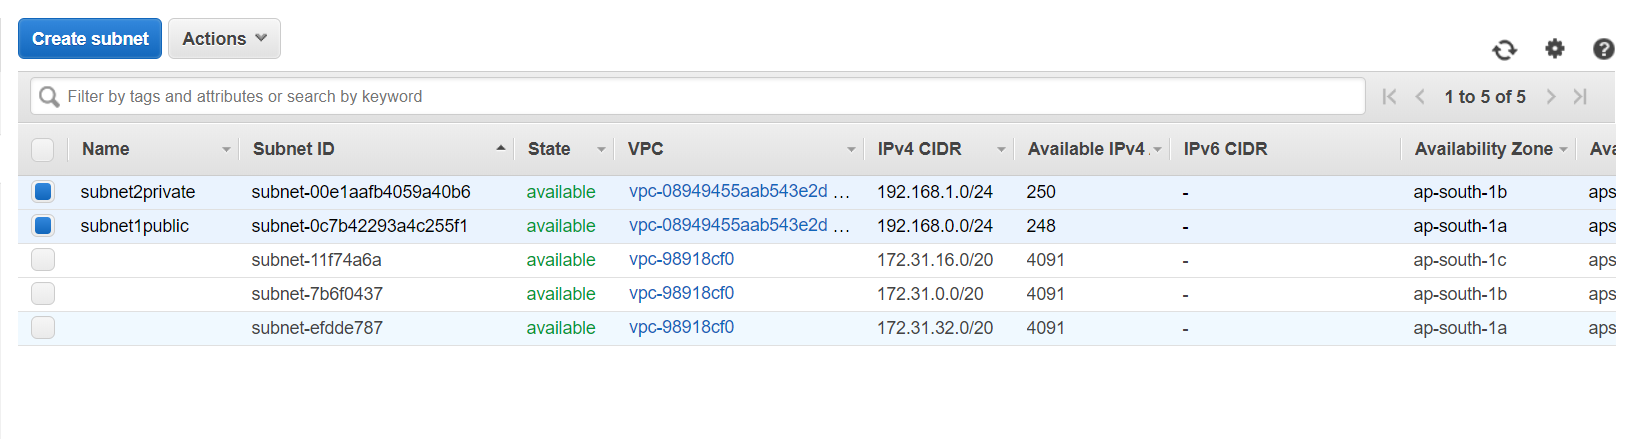
Created both subnets.
Step4: Create Internet Gateway
#IGresource "aws_internet_gateway" "internet_gateway" {
  vpc_id = aws_vpc.my_new_vpc.idtags = {
    Name = "my_internetgateway"
  }
}

Step5: Create a static IP(EIP)
#EIPresource "aws_eip" "tf_eip" {
  depends_on = [ aws_instance.wordpress_os , aws_instance.database , aws_instance.bastionhost ]
   vpc      = true
}

Step6: Create NAT Gateway
#Natresource "aws_nat_gateway" "nat_gateway" {
  depends_on = [ aws_eip.tf_eip ]
  allocation_id = aws_eip.tf_eip.id
  subnet_id     = aws_subnet.public_subnet.idtags = {
    Name = "my_Nat_gateway"
  }
}

Step7: Create Routing Tables
#My_rt2resource "aws_route_table" "route_table" {
  vpc_id = aws_vpc.my_new_vpc.idroute {

gateway_id = aws_internet_gateway.internet_gateway.id
    cidr_block = "0.0.0.0/0"
  }tags = {
    Name = "my_rt2"
  }
}resource "aws_route_table_association" "association" {
  subnet_id      = aws_subnet.public_subnet.id
  route_table_id = aws_route_table.route_table.id
}

#routing_table_for_NATresource "aws_route_table" "nat_route_table" {
  depends_on = [ aws_nat_gateway.nat_gateway ]
  vpc_id = aws_vpc.my_new_vpc.id
  route {
    gateway_id = aws_nat_gateway.nat_gateway.id
    cidr_block = "0.0.0.0/0"
  }
    tags = {
    Name = "my_nat_route_table"
  }
}resource "aws_route_table_association" "association2" {
  depends_on = [ aws_route_table.nat_route_table ]
  subnet_id      = aws_subnet.private_subnet.id
  route_table_id = aws_route_table.nat_route_table.id
}

Step8: Create Security Groups
#sg_MySqlresource "aws_security_group" "mysql_sg" {
  depends_on = [ aws_vpc.my_new_vpc ]
  name        = "mysql_sg"
  vpc_id      = aws_vpc.my_new_vpc.idingress {
    description = "MYSQL"
    from_port   = 3306
    to_port     = 3306
    protocol    = "tcp"
    security_groups = [ aws_security_group.wp_sg.id ]
  }egress {
    from_port   = 0
    to_port     = 0
    protocol    = "-1"
    cidr_blocks = ["0.0.0.0/0"]
  }tags = {
    Name = "mysql_sg"
  }
}

#sh_bastianresource "aws_security_group" "bh_sg" {
  depends_on = [ aws_vpc.my_new_vpc ]
  name        = "bh_sg"
  vpc_id      = aws_vpc.my_new_vpc.idingress {
    description = "SSH"
    from_port   = 22
    to_port     = 22
    protocol    = "tcp"
    cidr_blocks = [ "0.0.0.0/0"]
  }egress {
    from_port   = 0
    to_port     = 0
    protocol    = "-1"
    cidr_blocks = ["0.0.0.0/0"]
  }tags = {
    Name = "bh_sg"
  }
}

#sg_Wpresource "aws_security_group" "wp_sg" {
  depends_on = [ aws_vpc.my_new_vpc ]
  name        = "wpos_sg"
  vpc_id      = aws_vpc.my_new_vpc.idingress {
    description = "SSH"
    from_port   = 22
    to_port     = 22
    protocol    = "tcp"
    cidr_blocks = [ "0.0.0.0/0"]
  }ingress {
    description = "HTTP"
    from_port   = 80
    to_port     = 80
    protocol    = "tcp"
    cidr_blocks = [ "0.0.0.0/0" ]
  }ingress {
      description = "ICMP"
      from_port = -1
      to_port = -1
      protocol = "icmp"
      cidr_blocks = ["0.0.0.0/0"]
    }egress {
    from_port   = 0
    to_port     = 0
    protocol    = "-1"
    cidr_blocks = ["0.0.0.0/0"]
  }tags = {
    Name = "wpos_sg"
  }
}

Step9: Instance Launch
#wordpressresource "aws_instance" "wordpress_os" {
  ami           = "ami-7e257211"
  instance_type = "t2.micro"
  subnet_id = aws_subnet.public_subnet.id
  vpc_security_group_ids = [ aws_security_group.wp_sg.id ]
  key_name = "keycloudclass"
  tags = {
    Name = "WordPress"
    }
}

#MySqlresource "aws_instance" "database" {
  ami           = "ami-0447a12f28fddb066"
  instance_type = "t2.micro"
  subnet_id = aws_subnet.private_subnet.id
  vpc_security_group_ids = [ aws_security_group.mysql_sg.id , aws_security_group.bh_sg.id ]
  key_name = "keycloudclass"tags = {
    Name = "MySQL"
    }}

#bastian_hostresource "aws_instance" "bastionhost" {
  ami           = "ami-0447a12f28fddb066"
  instance_type = "t2.micro"
  subnet_id = aws_subnet.public_subnet.id
  vpc_security_group_ids = [ aws_security_group.bh_sg.id ]
  key_name = "keycloudclass"

    tags = {
    Name = "BastionHostOS"
    }
}

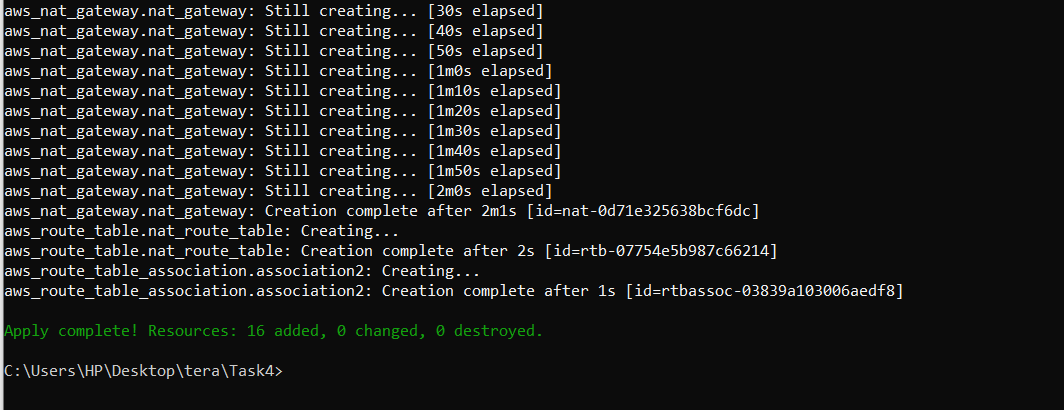
Output:


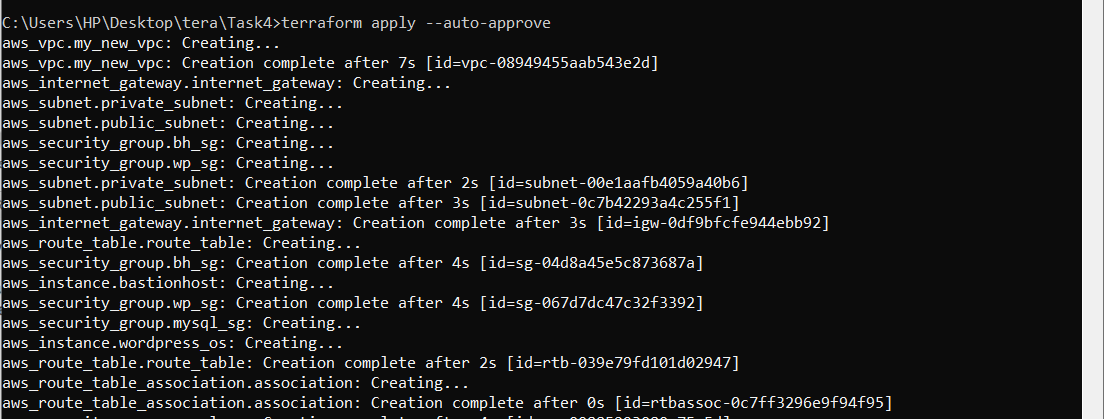
To run the entire infrastructure use #terraform apply.
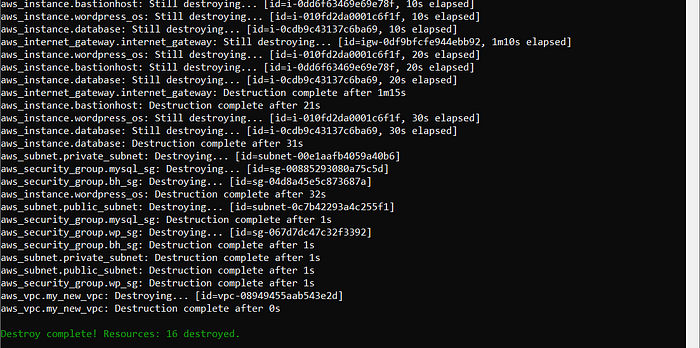
To delete the complete infrastructure use #terraform destroy.